
How to Brew Better Espresso at Home


OneHundredCoffee is reader-supported, and some products displayed may earn us an affiliate commission. Details
Brewing better espresso at home is not about buying the most expensive machine first. It is about learning how dose, grind size, yield, time, puck preparation, water, temperature, and fresh coffee all work together. Espresso can feel intimidating because everything happens quickly. A pour-over gives you three or four minutes to watch the brew develop. The French press gives you time to adjust your routine slowly. Espresso, though, can go from sour to bitter in a few seconds, and a tiny grinder change can completely change the cup. That is exactly why it frustrates beginners—and also why it becomes so satisfying once things start clicking.
The good news is that better home espresso does not require perfection. You do not need a café-level machine, a commercial grinder, or a counter full of tools to start improving. What you do need is a repeatable workflow. Weigh the coffee going in. Weigh the espresso coming out. Use a reasonable brew ratio. Grind fine enough to create resistance. Temp level. Keep the basket clean. Taste the shot. Then adjust one thing at a time.
As we discussed previously in our published article about How to Make Strong Coffee Without an Espresso Machine, strength alone is not the goal. Strong coffee can still taste bitter, hollow, or rough. Good espresso should feel concentrated, yes, but also sweet, balanced, aromatic, and textured. And as we covered earlier in Best Coffee-to-Water Ratio for AeroPress, the ratio is one of the easiest ways to understand strength. Espresso uses a ratio, too, usually starting around 1:2, meaning 18 grams of ground coffee in and about 36 grams of espresso.
A modern espresso starting point often uses an 18–20 g dose, about a 1:2 brew ratio, roughly 25–30 seconds, around 9 bars, and water near 200°F, though taste should always guide the final adjustment. The Specialty Coffee Association notes that many baristas use about a 1:2 ratio, often around 18–20 g in and about 36.5 g out in 25–30 seconds. La Marzocco also recommends thinking in ratios and suggests longer ratios like 1:2 or 1:2.5 for lighter roasts and shorter ratios like 1:1 or 1:1.5 for more developed roasts.
For a home setup, something like the Breville Barista Express can be a friendly all-in-one starting point because it includes an integrated grinder; Breville describes the Barista Express as having an integrated conical burr grinder with dose control and 16 grind settings. If you use a separate grinder, the Baratza Encore ESP is a practical beginner espresso grinder because Baratza’s manual divides the adjustment range into espresso settings 1–20 and filter settings 21–40.
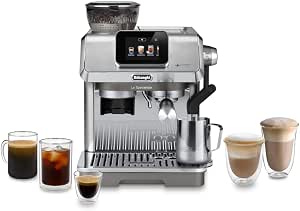
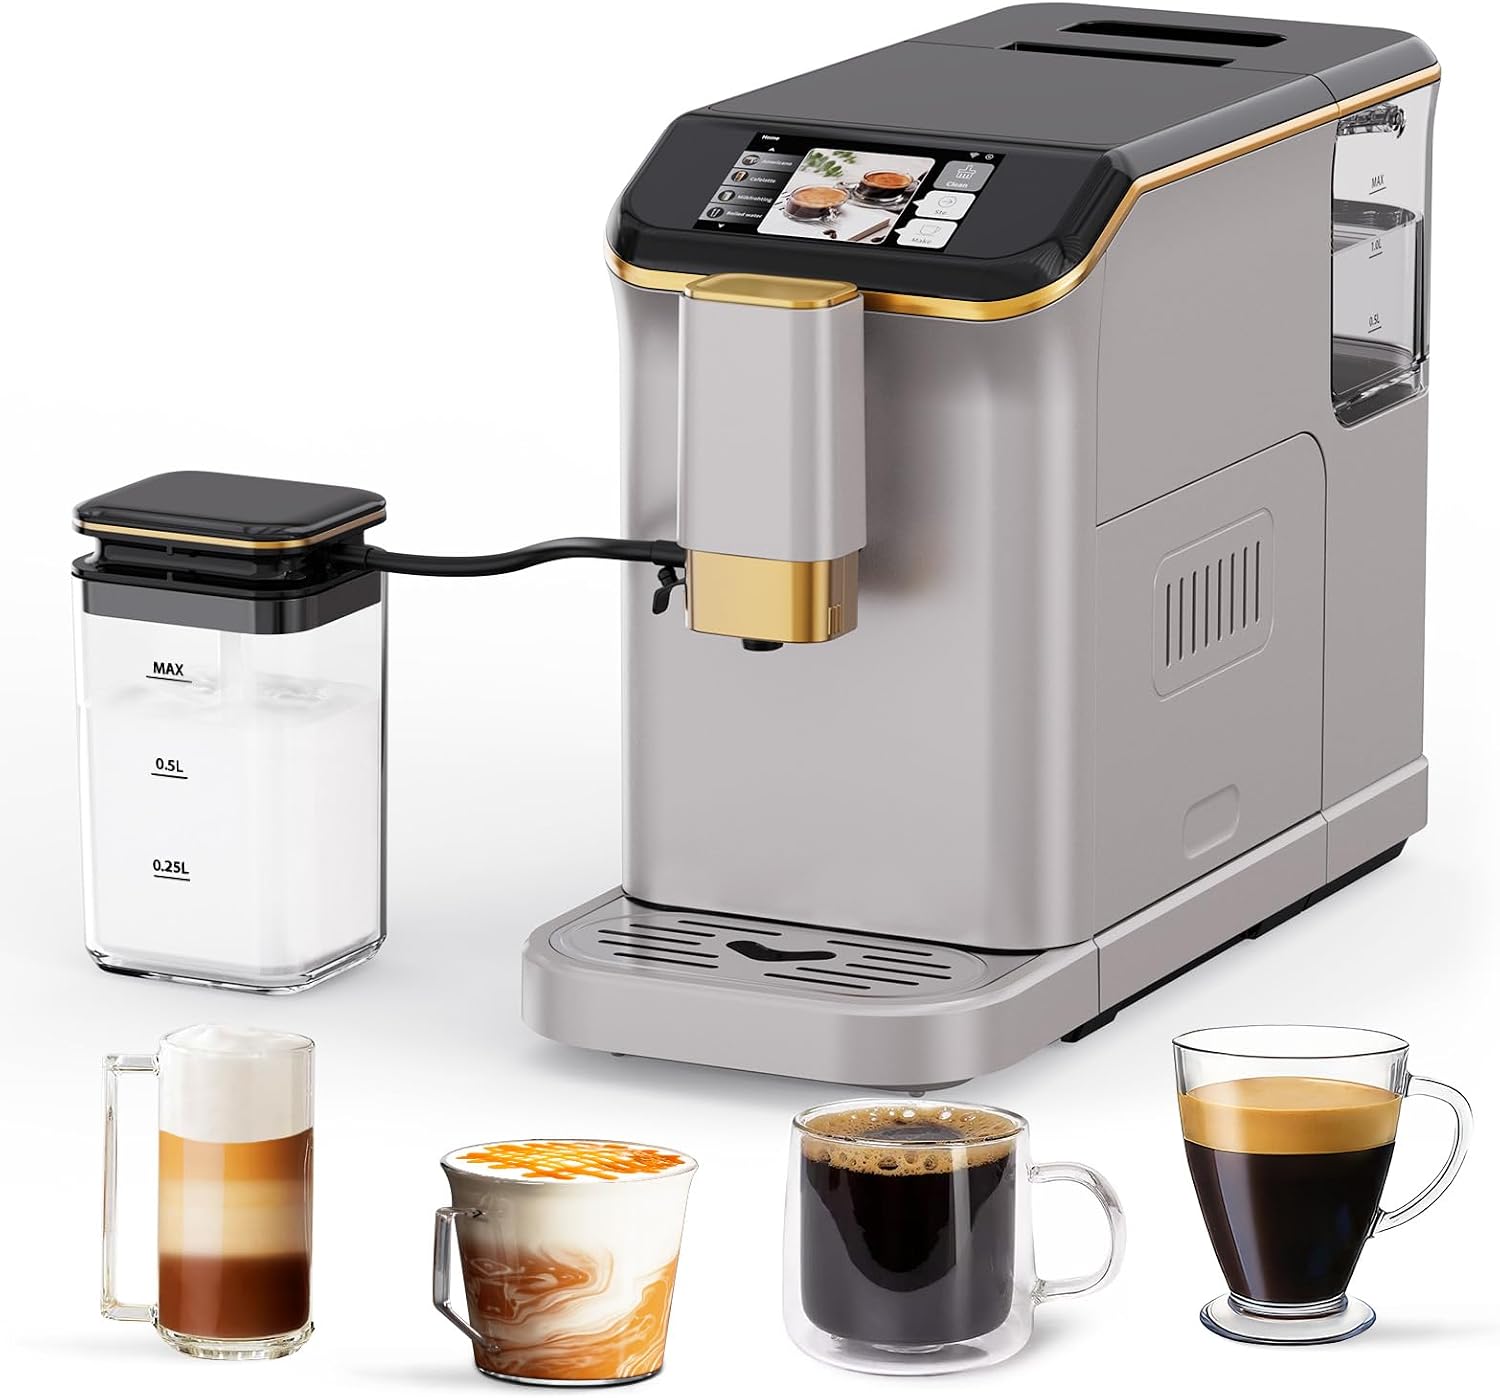
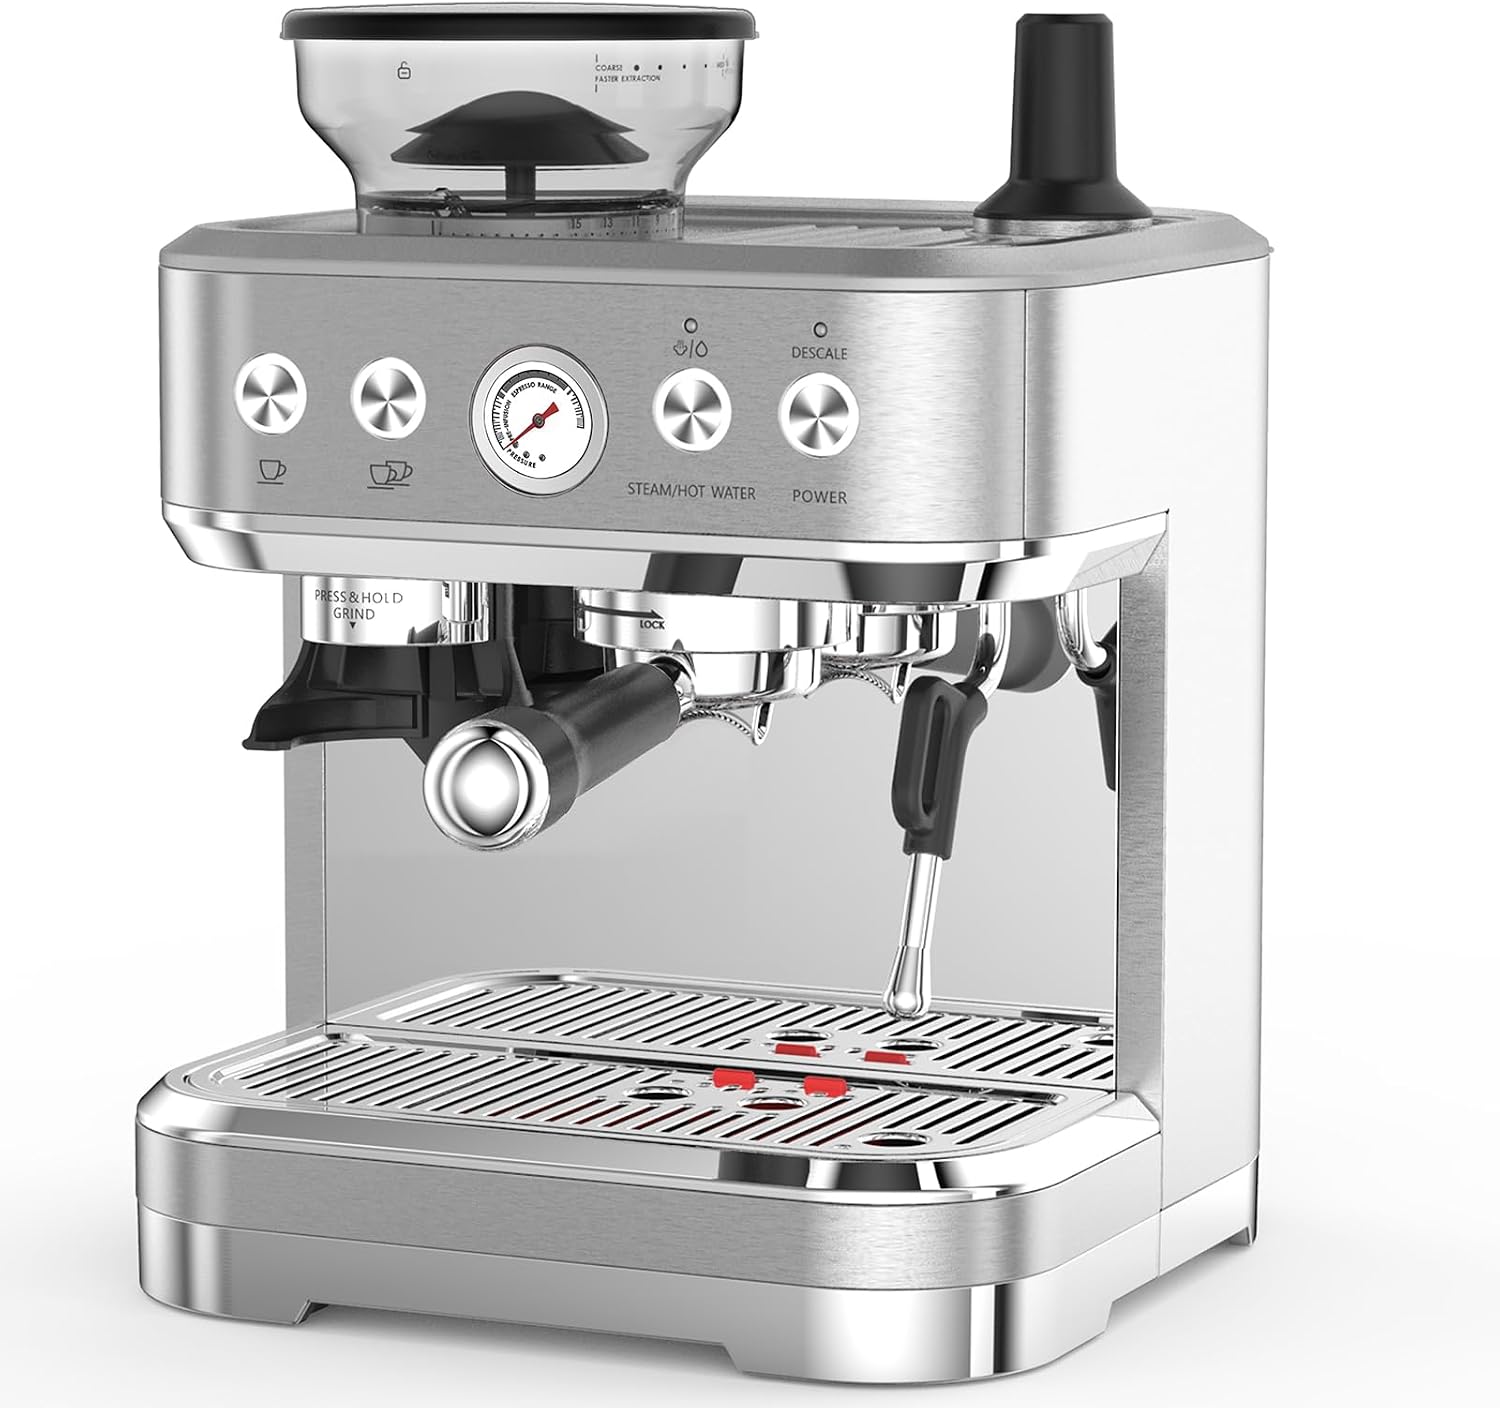
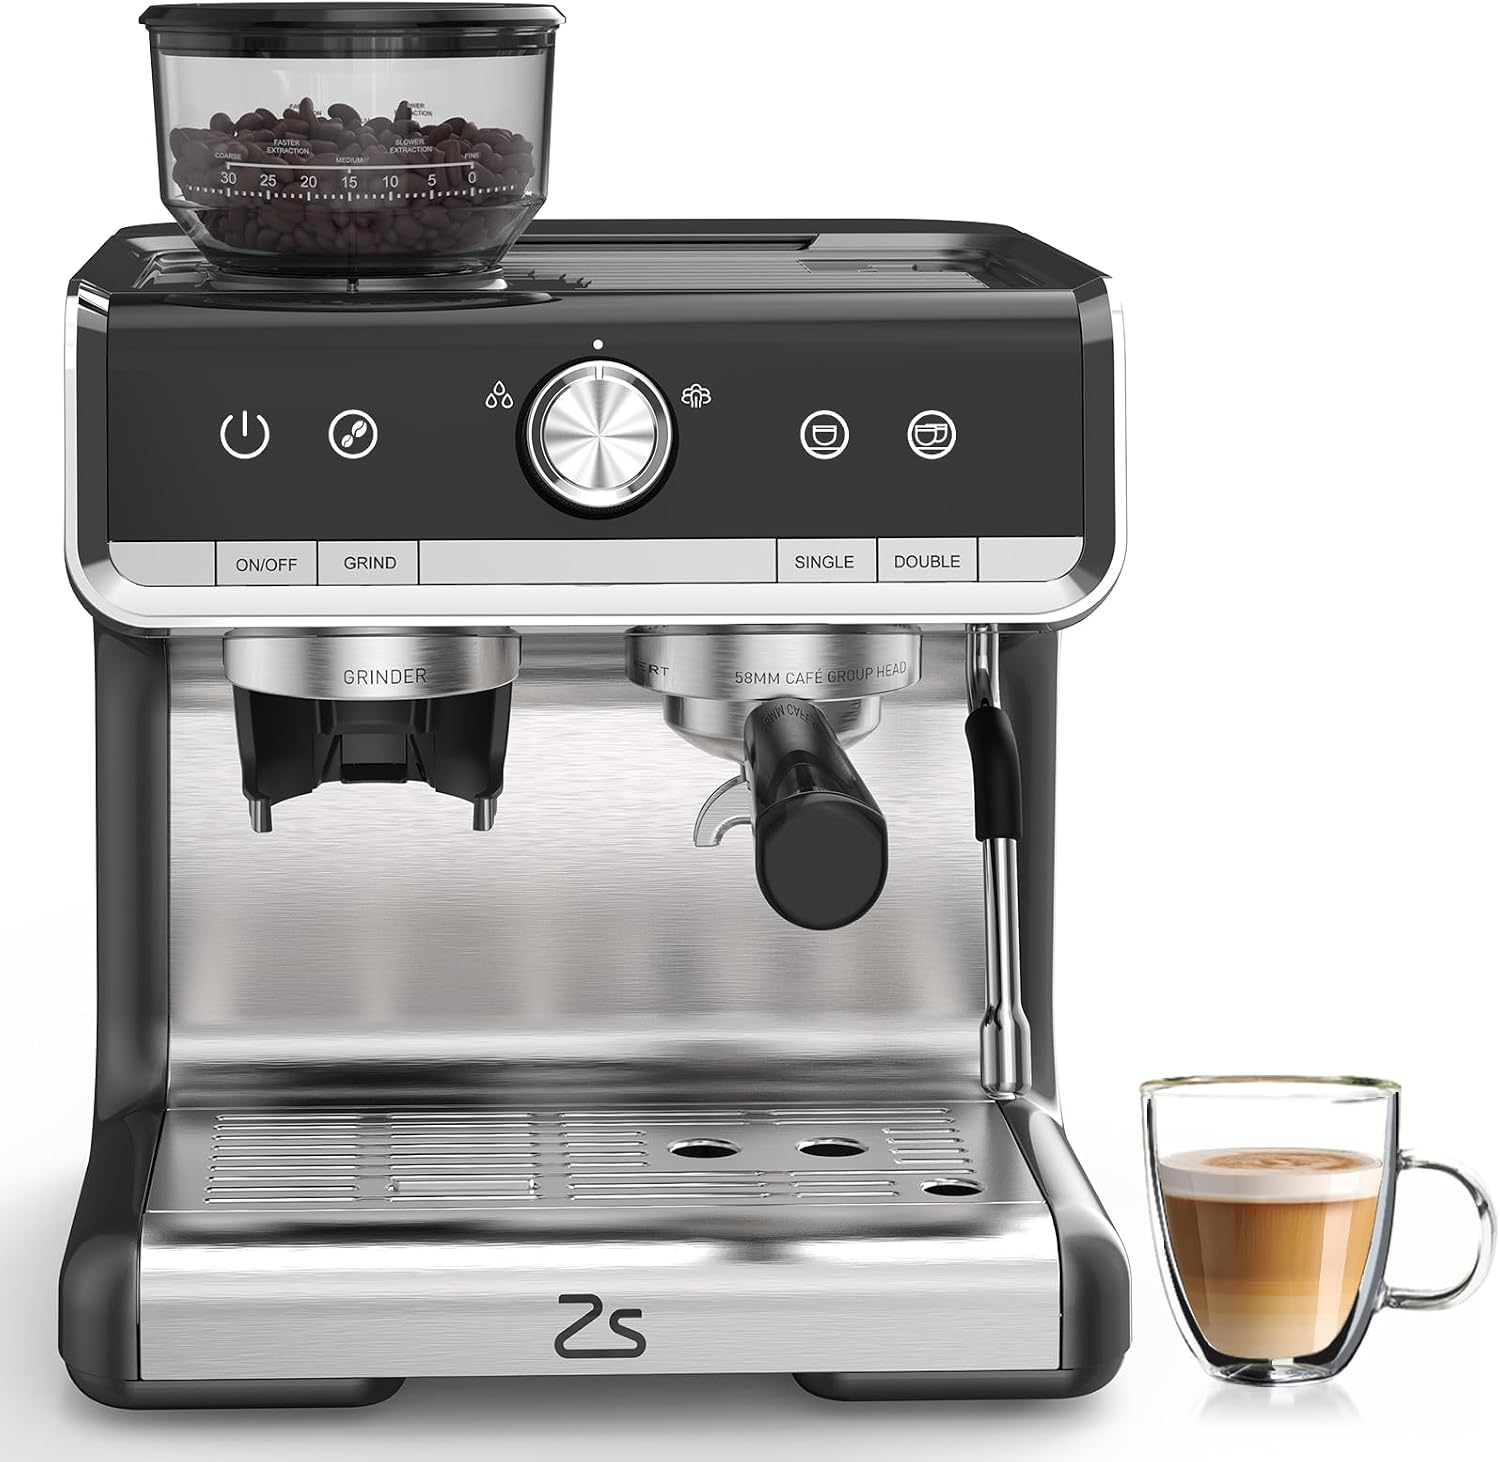
Best Espresso Machines for Home Brewing
| Image | Product | Features | Price |
|---|---|---|---|
|
Best Guided Premium
|
Guided espresso + auto milk frothing
|
Price on Amazon | |
|
Best One-Touch Value
|
Fully automatic touch workflow
|
Price on Amazon | |
|
Best Auto Espresso Pick

|
One-touch bean-to-cup brewing
|
Price on Amazon | |
|
Best 15-Bar Prosumer-Style
|
Built-in grinder + steam microfoam
|
Price on Amazon | |
|
Best Large-Tank Option
|
Grinder + frother + big reservoir
|
Price on Amazon |
Why Home Espresso Tastes Bad at First
Most bad home espresso falls into a few familiar categories: sour, bitter, watery, harsh, thin, or inconsistent. The cause is usually not one single thing. It is often a combination of grind size, dose, yield, distribution, tamping, coffee freshness, and machine temperature.
A sour shot often means the coffee is under-extracted. Water moved through too quickly, the grind was too coarse, the yield was too short, the water was too cool, or the coffee needed a longer ratio. A bitter shot often means over-extraction. The grind was too fine, the shot ran too long, the yield was too high, or the coffee was roasted darker and pushed too hard. A watery shot may mean the ratio is too long, the dose is too low, or the coffee is stale. A harsh shot may come from channeling, where water finds cracks or weak spots in the puck and extracts unevenly.
The most frustrating part is inconsistency. One shot tastes good, the next one tastes sharp, and the third tastes bitter, even though you think you did the same thing. That is why repeatability matters more than clever tricks. Better espresso begins with measuring.
The Simple Home Espresso Starting Recipe
Here is the baseline recipe I recommend for most beginners using a double basket.
| Variable | Beginner Starting Point |
|---|---|
| Coffee dose | 18 g |
| Espresso yield | 36 g |
| Brew ratio | 1:2 |
| Shot time | 25–30 seconds |
| Grind size | Fine |
| Water temperature | Around 200°F if adjustable |
| Tamp | Firm, level, consistent |
| Taste goal | Sweet, balanced, syrupy |
This is not the only recipe, but it is the best starting point because it gives you something measurable. If your machine uses a smaller 54 mm basket, like many Breville home machines, you may use 17–18 g depending on the basket. If your machine has a 58 mm commercial-style basket, 18–20 g may be more common.
The key is to choose a dose that fits your basket properly. Do not overfill the basket until the puck smashes into the shower screen. Do not underfill it so much that the puck becomes shallow and unstable. Start with the basket’s recommended range, then dial from there.
Espresso Dose: How Much Coffee Should You Use?
Dose is the amount of dry coffee in the portafilter basket. It is the foundation of the shot. If the dose changes every time, everything else becomes harder to understand.
For most home double baskets:
| Basket Style | Common Dose Range |
|---|---|
| Smaller home double basket | 16–18 g |
| Breville 54 mm double basket | 17–18 g |
| Standard 58 mm double basket | 18–20 g |
| Triple basket | 20–22 g or more |
| Single basket | 7–10 g, harder to dial in |
I recommend beginners start with a double basket, not a single basket. Single baskets can be harder to dial in because the puck shape is less forgiving. A double basket gives better consistency and is easier to troubleshoot.
A good starting point is 18 g in. Once you choose that, keep it constant while dialing in. Do not use 17.2 g for one shot, 18.5 g for the next, and 19 g after that. Espresso already has enough variables. Keep the dose steady.
Espresso Yield: How Much Liquid Should Come Out?
Yield is the weight of the espresso in the cup. This matters more than volume because crema changes volume unpredictably. A shot that looks like “two ounces” can weigh very differently depending on freshness, roast, and crema.
For a beginner 1:2 recipe:
| Dose | Yield | Ratio |
|---|---|---|
| 16 g | 32 g | 1:2 |
| 17 g | 34 g | 1:2 |
| 18 g | 36 g | 1:2 |
| 19 g | 38 g | 1:2 |
| 20 g | 40 g | 1:2 |
A scale under the cup is one of the biggest upgrades for home espresso. Without it, you are guessing. With it, you know whether the shot ran short, long, fast, or slow.
If you want sweeter, more balanced espresso, weigh the output. Time is useful, but yield tells you what you actually brewed.
Espresso Brew Ratio: 1:2 Is the Best Starting Point
The classic beginner espresso ratio is 1:2. That means for every gram of dry coffee, you aim for two grams of espresso in the cup. So 18 g in becomes 36 g out.
But different roast levels may taste better at different ratios. La Marzocco’s home espresso guide suggests longer ratios such as 1:2 or 1:2.5 for lighter roasted coffees and shorter ratios like 1:1 or 1:1.5 for more developed roasts. La Marzocco’s brew-ratio guidance also notes that espresso often does best when it reaches the target ratio in roughly 25–35 seconds.
| Espresso Style | Ratio | Example |
|---|---|---|
| Ristretto-style | 1:1 to 1:1.5 | 18 g in, 18–27 g out |
| Classic espresso | 1:2 | 18 g in, 36 g out |
| Longer espresso | 1:2.5 | 18 g in, 45 g out |
| Lungo-style | 1:3 | 18 g in, 54 g out |
For beginners, start with 1:2. Once you understand how the shot tastes, adjust by roast and preference.
Light roasts often need longer yields because they are harder to extract. Dark roasts often taste better shorter because they extract quickly and can become bitter if pushed too far.
Espresso Shot Time: Why 25–30 Seconds Is Only a Guide
Shot time matters, but it is not the final judge. A common starting point is 25–30 seconds for a 1:2 ratio. The SCA’s espresso discussion describes the average barista recipe as around 1:2, an 18–20 g dose, roughly 36.5 g output, and 25–30 seconds.
But time alone does not tell you whether the espresso is good. A 28-second shot can taste sour if the grind, roast, or temperature is wrong. A 35-second shot can taste beautiful with some coffee. A 22-second shot can work if the ratio and flavor are right.
Use time as a diagnostic tool.
| Shot Behavior | Possible Meaning |
|---|---|
| 18 g in, 36 g out in 15 seconds | Too fast, grind finer. |
| 18 g in, 36 g out in 25–30 seconds | Good starting zone |
| 18 g in, 36 g out in 40 seconds | Possibly too slow; grind coarser |
| The shot tastes sour at 25 seconds. | Try a finer grind, longer yield, and hotter water. |
| The shot tastes bitter at 25 seconds. | Try a coarser grind, shorter yield, and cooler water. |
Taste is the final decision. Time just helps you know which direction to move.
Best Grind Size for Home Espresso
Espresso needs a fine grind, much finer than drip, AeroPress, or moka pot. The grind must create enough resistance that water does not rush through the puck. But it should not be so fine that the machine chokes, drips slowly, or produces a bitter, dry shot.
| Grind Result | Shot Behavior | Taste |
|---|---|---|
| Too coarse | Fast flow | Sour, thin, watery |
| Correct range | Steady flow | Sweet, syrupy, balanced |
| Too fine | Slow/choked flow | Bitter, dry, harsh |
A true espresso grinder matters because espresso requires small grind adjustments. A grinder that works well for French press or drip may not have enough fine adjustment for espresso. The Baratza Encore ESP is designed for this beginner space; its manual explains that settings 1–20 are the espresso range and settings 21–40 are for filter coffee.
CoffeeGeek also notes the Encore ESP has 40 grind settings, with the first 20 providing high-resolution, espresso-focused adjustment.
If your shot runs too fast, grind finer.
If your shot runs too slow, grind coarser.
If the time looks right but the taste is wrong, adjust the yield, temperature, or puck prep.
Puck Prep: The Hidden Reason Espresso Is Inconsistent
Puck prep is how you prepare the coffee in the portafilter before brewing. It sounds small, but it is one of the biggest reasons home espresso becomes inconsistent.
If the grounds are clumped, uneven, mounded, or tamped crookedly, water will not flow evenly. It will find weak paths through the puck. That is called channeling. Channeling creates espresso that tastes sour, bitter, thin, and harsh all at the same time because some coffee over-extracts while other coffee under-extracts.
A simple puck-prep routine:
- Grind into the portafilter or dosing cup.
- Break up clumps gently.
- Distribute the grounds evenly.
- Level the bed.
- Tamp straight and firm.
- Wipe the basket rim.
- Lock in and brew immediately.
You do not need to buy every accessory on day one, but a simple WDT tool, dosing funnel, and scale can make home espresso much more consistent.
How to Tamp Espresso Properly
Tamping should be level, firm, and repeatable. It does not need to be dramatic. Once the coffee bed is fully compressed, pressing harder does not magically improve the shot. What matters is that the tape is even.
| Tamping Mistake | Result |
|---|---|
| Crooked tamp | Uneven flow and channeling |
| Too light and inconsistent | Unstable puck |
| Extremely hard tamp | Usually unnecessary |
| Polishing/spinning too much | Can disturb the puck |
| Dirty basket rim | Poor seal |
The goal is simple: create a flat, even puck. A self-leveling tamper can help beginners, but careful manual tamping is enough if you pay attention.
After tamping, do not knock the portafilter hard. That can crack the puck and cause channeling.
Fresh Beans Matter More for Espresso Than Almost Anything
Espresso brutally exposes coffee freshness. Stale beans can make thin shots with weak crema and flat flavor. Very fresh beans can be gassy and unpredictable. The sweet spot depends on roast and storage, but espresso usually performs best after the coffee has had some time to rest after roasting.
For many medium roasts, espresso often behaves better after several days of rest. For darker roasts, the window may be earlier. For lighter roasts, you may need more rest.
| Coffee Condition | Espresso Result |
|---|---|
| Too fresh | Gassy, foamy, unstable |
| Fresh and rested | Sweet, aromatic, stable |
| Stale | Thin, flat, weak crema |
| Oily dark roast | Can become bitter and clog grinders |
| Old pre-ground coffee | Usually weak and dull |
For beginner espresso, I prefer medium or medium-dark beans. Light roasts can taste amazing, but they are harder to extract and less forgiving. Dark oily roasts can be intense but may become bitter quickly.
A smoother coffee like Lavazza Qualità Oro Whole Bean Coffee can be gentle for people who dislike bitterness. A more expressive medium roast like Stumptown Holler Mountain Whole Bean Coffee can work if you want more character. For a bolder milk-drink direction, Peet’s Major Dickason’s Blend Whole Bean Coffee may suit people who prefer deeper-roast flavors.
Pressurized vs. Non-Pressurized Baskets
Many beginner machines come with pressurized baskets. These baskets create artificial resistance and can produce crema-like foam even when the grind is not perfect. They are useful for pre-ground coffee and beginner convenience.
Non-pressurized baskets require a proper espresso grind and better puck prep, but they can produce better espresso once dialed in.
| Basket Type | Best For | Watch Out |
|---|---|---|
| Pressurized basket | Pre-ground coffee, beginners | Less control, less true texture |
| Non-pressurized basket | Fresh-ground espresso | Requires a good grinder |
| Bottomless portafilter | Diagnosing channeling | Can be messy at first |
| Precision basket | Advanced consistency | Needs a proper grinder |
If you are using pre-ground coffee, a pressurized basket may help. If you have an espresso-capable grinder, move to a non-pressurized basket when you are ready.
Home Espresso Troubleshooting by Taste
Taste tells you what to change.
| Taste Problem | Likely Cause | First Fix |
|---|---|---|
| Sour and sharp | Under-extracted | Grind finer or pull longer. |
| Bitter and dry | Over-extracted | Grind coarser or pull shorter. |
| Watery and thin | Too fast or stale coffee | Grind finer; use fresher beans. |
| Harsh and uneven | Channeling | Improve puck prep. |
| Strong but sour | Short yield | Try 1:2 or 1:2. 5. |
| Bitter with dark roast | Ratio too long | Try a shorter yield. |
| Good flavor, but too intense | Ratio too short | Pull longer or dilute |
| Good flavor but weak | Ratio too long | Pull shorter. |
Do not change five things at once. Espresso rewards small, deliberate changes.
Dialing In Espresso: A Simple Beginner Method
Here is the easiest way to dial in.
Step 1: Choose a Dose
Start with 18 g if your basket allows it.
Step 2: Choose a Yield
Start with 36 g.
Step 3: Choose a Time Target
Aim for 25–30 seconds as a starting range.
Step 4: Pull the Shot
Weigh the output. Stop at 36 g.
Step 5: Taste
Do not judge only by crema or appearance. Taste it.
Step 6: Adjust
Use this table:
| Shot Result | Adjustment |
|---|---|
| 36 g out in 15 sec, sour | Grind finer. |
| 36 g out in 45 sec, bitter | Grind coarser. |
| 36 g out in 28 sec, sour | Try a longer yield, hotter water, and a finer grind. |
| 36 g out in 28 sec, bitter | Try a shorter yield, cooler water, and a coarser grind. |
| Shot sprays from bottomless portafilter | Improve puck prep. |
| The shot tastes good but intense. | Add water or pull slightly longer. |
Once the espresso tastes good, write down the recipe. Coffee changes as beans age, so you may need to adjust the grind slightly over the next few days.
Better Espresso with Light, Medium, and Dark Roasts
Different roasts need different espresso approaches.
| Roast Level | Starting Ratio | Temperature | Notes |
|---|---|---|---|
| Light roast | 1:2.5 to 1:3 | Higher | Needs more extraction |
| Medium-light | 1:2 to 1:2.5 | Medium-high | Balanced, lively |
| Medium | 1:2 | Medium | Best beginner zone |
| Medium-dark | 1:1.5 to 1:2 | Medium-low | Rich, easier to overdo |
| Dark roast | 1:1.5 to 1:2 | Lower | Avoid bitterness. |
If a light roast tastes sour at 1:2, do not immediately give up. Try pulling a longer shot like 18 g in and 45 g out. If a dark roast tastes bitter at 1:2.5, shorten it to 1:1.5 or 1:2.
This is why ratios are so powerful. It lets you match the extraction style to the roast.
Espresso Machine Temperature and Warm-Up
Home machines need time to heat properly. Even if the ready light turns on quickly, the portafilter, group area, and cup may still be cool. A cold system can make espresso taste sour or thin.
Simple warm-up routine:
- Turn the machine on early.
- Lock in the empty portafilter while warming.
- Run a blank shot before brewing.
- Warm the cup if desired.
- Dry the basket before dosing.
Some machines heat faster than others. Breville’s Barista Express manual highlights PID temperature control, adjustable temperature control, and low-pressure pre-infusion, but even machines with temperature features benefit from a consistent warm-up routine.
Temperature consistency is one of the reasons home espresso improves when you build the same routine every time.
Water Quality for Better Espresso
Espresso is concentrated, so bad water shows up fast. If your water tastes chlorine-heavy, metallic, or very hard, your espresso may taste dull or harsh. Hard water can also scale the machine.
Use filtered water that still contains some minerals. Do not use pure distilled water unless your machine manufacturer specifically allows a remineralized recipe. Espresso needs minerals for flavor, and machine sensors may not behave well with mineral-free water.
Good water helps with:
- Flavor clarity
- Sweetness
- Machine longevity
- Temperature stability
- Reduced scale buildup
Follow your machine’s descaling and water-filter instructions. A neglected machine can make good beans taste old.
Milk Steaming: Better Espresso Drinks at Home
If you mostly drink lattes or cappuccinos, espresso quality still matters, but milk technique matters too. Poorly steamed milk can hide good espresso or make the drink feel flat.
Good milk texture should be glossy, smooth, and pourable. It should not look like dish foam.
Basic milk-steaming steps:
- Start with cold milk.
- Purge the steam wand.
- Place the tip just below the milk surface.
- Add air early with a gentle paper-tearing sound.
- Submerge slightly to create a whirlpool.
- Stop when the pitcher feels hot but not painful.
- Wipe and purge the wand immediately.
- Swirl the milk before pouring.
For cappuccino, add slightly more air. For latte, add less air and focus on silky texture.
Best Home Espresso Gear for Better Results
You do not need every tool immediately, but a few tools make a real difference.
| Tool | Suggested Option | Why It Helps |
|---|---|---|
| Beginner all-in-one machine | Breville Barista Express | Machine and grinder in one |
| Compact machine | Breville Bambino Plus | Fast heat-up, small footprint |
| Beginner grinder | Baratza Encore ESP | Espresso-focused adjustment range |
| Scale | Hario V60 Drip Scale | Dose and yield control |
| WDT tool | Espresso WDT Tool | Better puck distribution |
| Dosing funnel | Espresso Dosing Funnel | Less mess, better distribution |
| Tamper | Espresso Tamper | Level puck compression |
| Knock box | Espresso Knock Box | Cleaner workflow |
If I had to prioritize, I would choose grinder, scale, and puck prep before fancy accessories. Espresso improves fastest when the grind and measurements become consistent.
Common Home Espresso Mistakes
Mistake 1: Not Weighing the Shot
Volume is misleading because crema changes. Weigh output instead.
Mistake 2: Using Stale Pre-Ground Coffee
Espresso needs fresh grinding. Pre-ground coffee often runs too fast and tastes flat unless you use a pressurized basket.
Mistake 3: Changing Dose Every Shot
Keep the dose fixed while dialing in. Adjust the grind first.
Mistake 4: Ignoring Puck Prep
Distribution matters. A beautiful machine cannot fix a cracked puck.
Mistake 5: Pulling Every Shot to the Same Time
Time is a guide, not the goal. Stop based on yield and taste.
Mistake 6: Using Dark Roast Like Light Roast
Dark roasts often need shorter ratios and cooler brewing. Light roasts often need longer ratios and more heat.
Mistake 7: Not Cleaning the Machine
Old oils in the basket, portafilter, shower screen, and steam wand can ruin the flavor.
Espresso Cleaning Routine
A clean machine makes better espresso.
| Frequency | Cleaning Task |
|---|---|
| Every shot | Purge the group, wipe the basket, and clean the rim. |
| Every milk drink | Wipe and purge the steam wand. |
| Daily | Rinse the drip tray and clean the portafilter. |
| Weekly | Backflush if the machine allows |
| Monthly | Clean the shower screen area. |
| As needed | Descale according to water hardness. |
| Regularly | Replace the water filter if used. |
Do not let old coffee oils build up. Espresso oils become bitter and stale. If every shot tastes dull even after dialing in, clean the machine thoroughly.
My Personal Home Espresso Routine
When I want to dial in a new coffee, I start simple:
| Variable | My Starting Point |
|---|---|
| Dose | 18 g |
| Yield | 36 g |
| Ratio | 1:2 |
| Time | 25–30 seconds |
| Grind | Fine, adjusted by flow |
| Puck prep | WDT, level tamp |
| Taste | Adjust from there. |
If the shot runs too fast, I grind finer. If it runs too slow, I grind coarser. If the time is close but it tastes sour, I try a longer yield. If it tastes bitter, I try a shorter yield. If it sprays or tastes uneven, I fix distribution before changing everything else.
That routine keeps me from panicking. Espresso becomes much easier when every shot gives you information.
Final Thoughts: Better Espresso Comes from Repeatability
Better espresso at home is not about chasing perfection from the first shot. It is about building a repeatable process. Weigh the dose. Weigh the yield. Start with a 1:2 ratio. Aim for 25–30 seconds as a rough guide. Grind finer if the shot runs too fast. Grind coarser if it runs too slow. Improve puck prep if the shot tastes uneven. Adjust the ratio by roast level and taste.
Start with 18 g in and 36 g out. Use fresh beans, a fine grind, a level tamp, and a clean machine. Taste the shot before changing anything. Then move one variable at a time.
Espresso can feel fussy, but it is not random. Once you understand what each variable does, every bad shot becomes useful. Sour tells you something. Bitter tells you something. Fast flow tells you something. Slow flow tells you something. And gradually, your home espresso becomes sweeter, smoother, richer, and far more satisfying.
FAQ: How to Brew Better Espresso at Home
What is the best beginner espresso recipe?
Start with 18 g of coffee in and 36 g of espresso out, which is a 1:2 ratio. Aim for around 25–30 seconds, then adjust by taste.
Why does my espresso taste sour?
Sour espresso is usually under-extracted. Grind finer, increase yield, use hotter water if adjustable, or improve puck prep.
Why does my espresso taste bitter?
Bitter espresso is usually over-extracted. Grind coarser, reduce yield, lower temperature if adjustable, or use a shorter ratio for darker roasts.
What grind size is best for espresso?
Espresso needs a fine grind. It should be fine enough to create resistance but not so fine that the machine chokes or the shot tastes bitter and dry.
Should I weigh espresso shots?
Yes. Weighing dose and yield is one of the fastest ways to improve espresso. Volume is unreliable because crema changes how the shot looks.
What is a good espresso brew ratio?
A good starting ratio is 1:2. For example, 18 g coffee in and 36 g espresso out. Lighter roasts may need 1:2.5, while darker roasts may taste better around 1:1.5 to 1:2.
How long should an espresso shot take?
A common starting range is 25–30 seconds, but time is only a guide. Taste and brew ratio matter more than hitting an exact number.
Why is my espresso watery?
Watery espresso may come from stale beans, too coarse a grind, too long a ratio, a low dose, channeling, or a pressurized basket with unsuitable coffee.
Do I need an espresso grinder?
Yes, for non-pressurized baskets. Espresso requires fine, precise grind adjustments. A normal drip grinder usually cannot dial in espresso properly.
How do I make better milk drinks at home?
Start with a balanced espresso shot, then steam milk until it is glossy and smooth. Add air early, create a whirlpool, and avoid large dry foam.


