
Milk Steaming 101: A Beginner’s Guide to Silky Microfoam


OneHundredCoffee is reader-supported, and some products displayed may earn us an affiliate commission. Details
If you’ve ever watched a barista steam milk and thought, “Okay… how are they making that look so effortless?”—you’re not alone. Milk steaming is one of those skills that feels mysterious at first, then suddenly clicks, and after that, you wonder why it ever felt so complicated.
I still remember my early attempts: milk exploding into big bubbles, foam so stiff it looked like shaving cream, or milk that tasted weirdly flat—like hot dairy water. And the most frustrating part? I’d get a “good” result by accident once, then spend the next week trying to repeat it like I was chasing a rare Pokémon.
This guide is the friendly, real-world version of milk steaming—focused on what beginners actually struggle with, what you’re really aiming for, and how to build consistency without needing a café setup. By the end, you’ll know how to make that glossy, paint-like microfoam that pours smoothly, feels silky on the tongue, and makes your lattes taste sweeter even if you didn’t add sugar.
If you’re practicing on a home espresso machine like the Breville Barista Express, or even using a dedicated frother such as the countertop Breville Milk Cafe, the fundamentals don’t change: you’ll learn to find that sweet spot where air is introduced gently (stretching) and then folded evenly through the milk (texturing). A solid pitcher helps you control whirlpool and angles—something like a classic stainless pitcher (e.g., the widely used Rattleware Frothing Pitcher 20oz) gives you predictable pour lines and an easy spout for latte art. And for anyone dialing in shots for milk drinks, reducing channeling makes everything easier; a simple add-on like the Normcore 58.5mm Puck Screen can help your espresso extraction stay steady so your milk-and-espresso balance tastes sweet and clean instead of harsh.
We’ll keep it honest and beginner-friendly: how to hear the right “paper-tearing” sound without blasting air, where to park the tip, how to feel the temperature rise so you don’t scorch the sweetness out of your milk, and how to stop right before you cross the line from silky to stiff. If your setup doesn’t have a steam wand, you can still practice microfoam habits with a handheld tool that creates remarkably fine bubbles—devices in the “microfoam” category (for example, the popular Subminimal Nanofoamer) can bridge the gap until you upgrade your machine.
You don’t need a professional bar to start pouring better lattes at home. A dependable machine or frother, a well-shaped pitcher, and small cues—a thermometer read or a practiced palm check—are more than enough to build repeatable technique. If you like a temperature reference while you’re learning, a simple clip-on milk thermometer (there are many affordable options) can train your hand to recognize when to stop steaming; after a week or two, you’ll trust your senses and retire the gadget. As you practice, we’ll also cover routine upkeep so your wand stays clean and your milk stays sweet—quick purges before and after steaming, wiping the tip immediately, and doing a brief deep-clean at the end of the day with a proper espresso cleaner like Urnex Cafiza.
So yes—this will get practical fast. We’ll talk angles and depth; how to start with the tip just kissing the surface to introduce micro-bubbles, then drop slightly to roll the milk into a silky whirlpool. We’ll discuss when to stretch (hint: early, while it’s still cool) and when to focus solely on texturing (as the pitcher warms); how to stop around that gentle, toasty warmth rather than “pushing” to scalding hot. We’ll map the common mistakes—giant bubbles, screaming steam, matte foam that won’t pour—and show the quick fixes you can apply on your very next attempt.
Best Milk Steamers and Frothers — At a Glance
| Image | Product | Features | Price |
|---|---|---|---|
|
Best Premium Frother

|
Four milk preparation styles
|
Price on Amazon | |
|
Best Everyday Value

|
Four simple foam modes
|
Price on Amazon | |
|
Best Feature-Rich Pick

|
Nine temperature and froth combinations
|
Price on Amazon | |
|
Best Steamer Upgrade

|
Induction heating with temp control
|
Price on Amazon | |
|
Best Compact Nespresso Pick

|
Fast hot or cold froth
|
Price on Amazon | |
|
Best Handheld Overall

|
Fast handheld frothing
|
Price on Amazon | |
|
Best Rechargeable Wand

|
Rechargeable handheld frother with stand
|
Price on Amazon | |
|
Best Strong Motor

|
19000 RPM handheld frothing
|
Price on Amazon | |
|
Best Budget Handheld
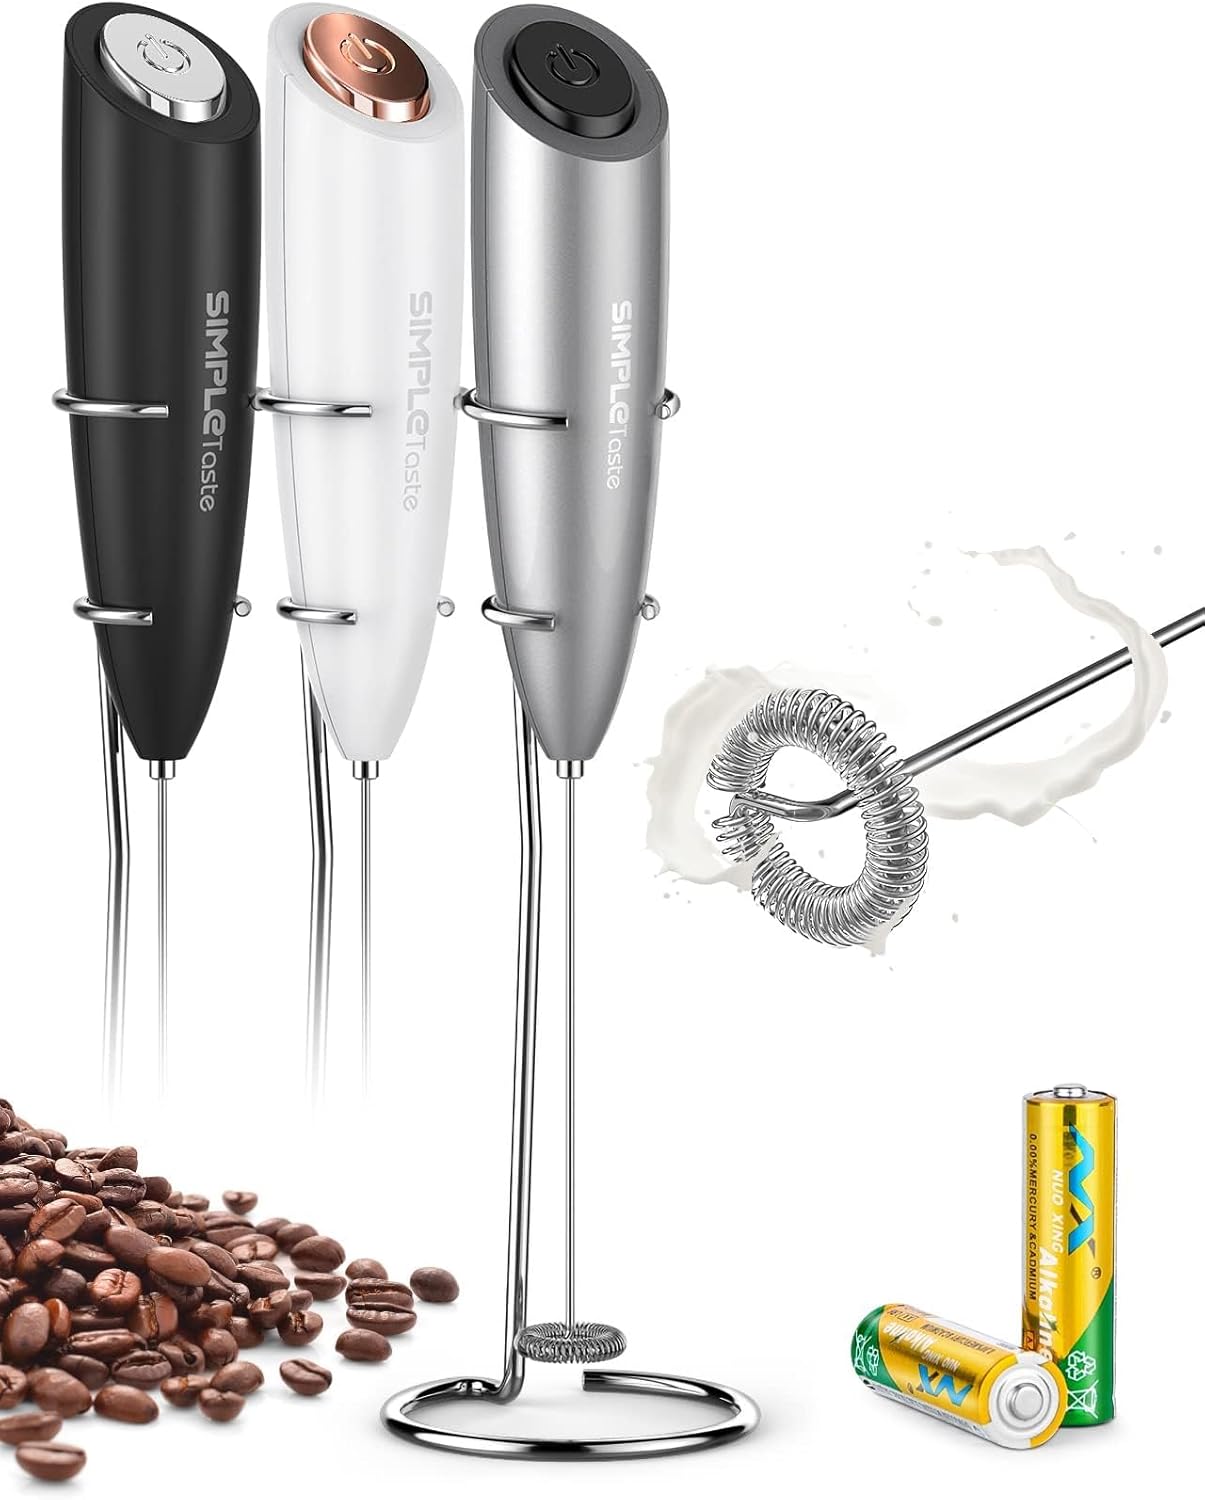
|
Simple battery-powered frothing
|
Price on Amazon | |
|
Best Large-Capacity Steamer

|
17 oz detachable jug
|
Price on Amazon |
And if you want to set yourself up for small wins from day one: pick a pitcher that makes pouring intuitive (something like the Rattleware Frothing Pitcher 20oz gives you forgiving control), practice on a machine with a responsive wand (entry-level espresso machines like the Breville Barista Express are popular for a reason), keep cleanup effortless so you actually practice daily (a quick purge and a little Urnex Cafiza go a long way), and if you’re wandless for now, let a microfoam-focused tool such as the Subminimal Nanofoamer carry you toward that glossy texture. Prefer a plug-and-play milk drink? A countertop frother like the Breville Milk Cafe can be a sweet stepping stone—easy cleanup, consistent temperature, and foam profiles you can tune while you learn the fundamentals.
By the time you finish this guide, you’ll know exactly what you’re listening for, how to position the tip, how long to stretch, when to focus on the roll, and how to land at that luscious, paint-like microfoam that makes latte art possible and turns everyday milk drinks into something you actually crave. The confidence comes faster than you think—and once it clicks, you’ll pour that first silky rosetta and laugh at the memory of those big, soapy bubbles from week one.
The Microfoam Goal: What “Silky” Actually Means

Let’s start with the target, because most steaming problems happen when you’re aiming at the wrong finish line.
Silky microfoam is not “a lot of foam.” It’s not a thick cap sitting on top. It’s also not milk that looks normal until you pour, and then suddenly turns into bubble soup. Silky microfoam is milk that becomes one unified texture—liquid milk and foam fully blended—, so it pours like warm, glossy paint.
When it’s right, you’ll notice a few things immediately:
The surface looks shiny, almost like wet satin. If you swirl the pitcher, the milk moves as one smooth body—no floating foam chunks on top. When you pour, it doesn’t “plop,” it flows. And in the cup, it feels creamy, not airy. The bubbles are so small you can’t really see them. It’s like the milk got a luxury upgrade.
Here’s the key beginner mindset shift: steaming milk is not “make foam.” It’s two gentle processes—adding the right amount of air and then blending that air into the milk so you don’t get bubbles.
Think of it like making a glossy sauce. You’re emulsifying texture into liquid. Too much air too fast? Big bubbles. Too little air? Flat milk that can’t hold its shape. Great microfoam lives in the middle: enough air to give structure, not so much that it turns into whipped topping.
And yes—microfoam changes taste. Properly steamed milk tastes sweeter because heating and texture change how your tongue perceives sweetness and how the milk integrates with espresso. That’s why a café latte can taste more balanced than the same espresso with microwaved milk.
Your Setup Matters More Than You Think: Steam Wand, Pitcher, Milk, and “Small Habits”

You don’t need a $3,000 machine to learn microfoam, but you do need a setup that gives you control.
A steam wand that produces consistent steam is the obvious piece, but the hidden beginner killer is workflow. Little habits—purging, positioning, starting with the right milk amount—decide whether you’re practicing progress or practicing chaos.
Let’s talk pitchers first, because your pitcher is basically your steering wheel. A good pitcher has a spout that pours cleanly and walls thick enough to help you feel temperature changes. Size matters more than people admit: if you use a pitcher that’s too big for the amount of milk you’re steaming, it’s harder to create a stable vortex. Too small, and milk expands quickly, and you lose control.
A thermometer helps at the beginning, not because you must use it forever, but because it teaches your hands what “done” feels like. Eventually, you’ll steam by touch—your palm learning the heat curve like muscle memory.
Milk choice matters too, and not in a “you must buy fancy milk” way. Fresh, cold milk gives you time. Warm milk steals your time. The colder your milk starts, the longer you have to texture it before it overheats.
The final setup habit is the one that separates people who improve fast from people who stay stuck: repeatable starting conditions. Same milk volume. Same pitcher. Same steam power setting. Same starting temperature. When you change everything with every attempt, you can’t tell what caused your success—or your failure.
So when you practice, don’t freestyle. Treat it like learning a sport: same stance, same motion, same drill. That’s how your brain learns the pattern.
Choosing Milk Like a Barista: Fat, Protein, and Why Some Milks “Behave Better”
Milk steaming is chemistry dressed up as a kitchen skill. Fat affects richness and mouthfeel. Protein affects foam strength and stability. And both affect how forgiving the milk is while you learn.
In general, whole milk is the easiest starting point for beginners. It steams into a creamy texture and has enough fat to feel silky, but enough protein to create stable microfoam. Skim milk can foam aggressively (big volume, airy texture), which can trick beginners into thinking they’re succeeding—until they pour and it collapses.
Alternative milks can absolutely make beautiful microfoam, but they behave differently and often need a bit more finesse. Some “barista” versions are designed specifically for steaming, so if you’re struggling with oat milk that splits or refuses to texture, it’s not always your technique—it might be the milk.
Here’s a simple comparison that helps when you’re choosing what to practice with:
| Milk Type | How Easy It Is for Beginners | Texture Style | Common Problem |
|---|---|---|---|
| Whole dairy milk | Very easy | Creamy, glossy, classic | Over-aerating into thick foam |
| 2% dairy milk | Easy | Slightly lighter | Can feel thinner if under-textured |
| Skim dairy milk | Medium | Very foamy, light | Big bubbles, “dry” foam |
| Oat (barista) | Medium | Velvety, latte-art friendly | Overheats fast, can thicken oddly |
| Soy (barista) | Medium | Smooth, stable when right | Can split if overheated |
| Almond | Harder | Light, less creamy | Foams inconsistently, separates |
| Coconut blends | Harder | Aromatic, lighter | Thin foam, fast breakdown |
If you want the fastest improvement curve, practice with whole milk for a week. Once your technique produces glossy texture consistently, moving to oat or soy becomes way easier because you’re not guessing anymore—you’re adapting.
Also, don’t ignore freshness. Older milk can foam weirdly. And if your milk has been sitting out, it’s already warmed up—which means you’ll lose time and likely end up overheating.
The “Two Phases” Secret: Stretching and Texturing (And Why Beginners Mix Them Up)

Most beginner steaming struggles come down to one thing: doing the two phases at the same time.
Steaming milk has two phases:
Stretching is when you add air.
Texturing is when you blend that air into the milk into microfoam.
Beginners often either stretch too long (hello, bubble bath) or skip stretching (hello, hot milk with no body). The magic is stretching just enough to create structure, then switching to a rolling vortex to polish the milk.
Imagine you’re inflating a tiny balloon inside the milk. You want a small increase in volume, not a dramatic expansion. In a latte-sized milk amount, stretching is usually only a few seconds—shorter than most people expect.
Then you move into texturing, which is the part that makes microfoam micro. Your goal is a vortex that folds the surface into the milk repeatedly, breaking down large bubbles into tiny ones. You’re basically “editing” the foam you created into something silky.
If you take one thing from this whole guide, make it this:
You don’t win by adding more air. You win by blending air better.
And blending happens in the vortex.
When you do it right, the milk changes sound. It starts loud and chaotic, then becomes smoother, like the difference between boiling water and simmering soup. Your pitcher also starts to feel like it’s holding a single creamy body rather than sloshing liquid.
Steam Wand Positioning: The Tiny Movements That Change Everything
Milk steaming is shockingly sensitive to tiny changes. A few millimeters higher or lower can turn microfoam into a foam disaster.
Here’s the beginner-friendly picture:
You want the steam wand tip near the surface at first—close enough to pull in air gently. People call it the “paper-tearing” sound or a light “kiss.” If it’s screaming like a jet engine, you’re usually sucking in too much air too aggressively. If it’s silent and the milk is just spinning, you’re not adding air yet.
During stretching, your wand tip is close to the surface, and the milk level rises as it expands. That means you have to adjust slightly so the tip stays near the surface, not buried deep.
Then, for the texturing phase, you lower the wand a bit so it stops pulling air and starts rolling the milk into a vortex. This is where beginners often freeze—because it feels like you’re doing something wrong when the “kissing” sound disappears. But that silence is the point. You already added air. Now you’re blending.
Angle matters. You don’t want the wand dead center. You want it slightly off-center so it creates a whirlpool. That whirlpool is your polishing tool. If the milk is swirling like a slow tornado, you’re in business. If it’s just vibrating and splashing, the positioning is off.
Also, don’t let the wand sit too close to the pitcher wall unless it’s intentional. Sometimes it helps to stabilize the roll, but too much wall contact can create screechy sounds and uneven texture.
The easiest way to learn positioning is to practice on purpose with small adjustments. Do one steam with the wand slightly more centered. Next, steam slightly more off to the side. Notice what changes. That’s how your hands learn the “map” of your pitcher.
Stretching Milk Without Making Bubbles: The Gentle “Kiss” Technique

Stretching is where beginners panic and overdo it. So let’s make it simple.
You’re not trying to “inflate” milk dramatically. You’re trying to introduce a thin layer of air that will later disappear into the milk as microfoam.
Start with cold milk, usually filled to just below the spout start point (or around the bottom of the spout line, depending on pitcher size). Insert the wand tip just below the surface, then start the steam.
Listen for a soft, consistent sound. The best beginner description I can give is: a gentle, controlled sipping sound. Not a violent slurp, not a scream. If the milk starts spitting, you’re too close to the surface, or the wand is angled poorly.
In this phase, you’ll see the milk volume rise slightly. That’s good. You’re stretching. But the moment you see big bubbles forming quickly, that’s your cue: you’ve gone too far or too fast.
Most beginners need less stretching than they think. For a large amount, it might be 2–5 seconds, depending on steam power. For a cappuccino (more foam), it’s longer. But for microfoam that pours well, keep stretching short and clean.
One personal trick I used when learning: I would count “one…two…three” for stretching, then immediately drop into texturing. Even if it wasn’t perfect, it forced me to stop over-aerating. Over time, I adjusted the count based on results, but the habit saved me.
Also, if you’re aiming for latte art later, microfoam needs to stay liquid enough to flow. Too much air makes your milk “stiff,” and stiff milk doesn’t pour clean patterns. It just sits there like foam pudding.
Texturing Like a Pro: Building a Vortex That Polishes the Milk
Texturing is where the milk becomes silky. If stretching is the “ingredient,” texturing is the “cooking.”
Once you’ve added the air you want, lower the wand slightly so it stops drawing in air. Now you want the milk to roll in a tight vortex—like a whirlpool, folding the surface down into the milk.
This rolling motion is what breaks down bubbles. It also blends foam and milk into one uniform texture. If you’re getting decent foam but it separates into layers—foam on top, milk underneath—that usually means your vortex wasn’t strong or stable enough.
In good texturing, you’ll see the milk spinning smoothly with a glossy surface. If it looks like chaotic splashing, your vortex is unstable. Adjust the wand off-center and keep the tip deep enough that it’s not pulling air anymore.
One common beginner issue is too much “vortex violence.” People think bigger whirlpool equals better milk, but if it’s splashing air back in, you’re undoing your microfoam. You want a controlled roll, not a blender.
As you texture, the pitcher heats up. This is where you train your touch. If you’re using a thermometer, aim for a range that makes the milk hot but not scorching. If you’re using touch, pay attention to the moment the pitcher becomes uncomfortable to hold for more than a second or two. That’s usually near your finish zone.
Texturing is also where you correct small mistakes. If you slightly over-aerate, a strong vortex can still polish the milk into a usable texture. If you created big bubbles early, the vortex will break some down, but not all, so it’s better to stretch gently than to depend on fixing it later.
Temperature and Timing: The Sweet Spot That Makes Milk Taste Better

Milk can be steamed beautifully and still taste wrong if it’s overheated.
There’s a point where milk tastes sweet and creamy, and then there’s a point where it tastes flat, cooked, or slightly “eggy.” Beginners often overshoot because they’re focused on texture and forget temperature.
If you’re starting, use a thermometer for a while. Not forever—just until your hands learn. You’ll start to recognize the heat curve: the pitcher warms slowly at first, then suddenly heats quickly near the end. That last stage is where most people go too far.
When milk is steamed in the sweet zone, it tastes smoother and balances espresso bitterness naturally. When it’s overheated, it can dull the drink and make the espresso taste harsher.
Also, heat affects foam stability. Overheated milk tends to lose that glossy, paint-like flow, and the foam can become dry or separated. Underheated milk can still be silky, but it may not integrate with espresso as well and can feel lukewarm and disappointing.
A super practical approach: pick one drink you make most (like an 8–10 oz latte), and practice hitting the same finish temperature every time. Consistency builds confidence, and confidence builds skill faster than random experimentation.
And here’s something I wish someone had told me earlier: don’t steam milk while distracted. It’s quick. If you scroll your phone mid-stream, you’ll overshoot. Steaming rewards attention because the changes happen fast near the end.
The Finishing Moves: Swirl, Tap, and the “Pour Window” Most Beginners Miss
Steaming doesn’t end when you turn off the wand. The finishing moves decide whether your microfoam pours like silk or separates into layers.
First: wipe and purge the wand immediately. That’s not just hygiene—it keeps steam performance consistent and prevents crusty milk buildup that ruins your next steam.
Second: tap and swirl your pitcher. A gentle tap helps pop any surface bubbles. The swirl blends everything into a glossy, unified texture. You’re basically polishing the milk one last time.
If your milk looks like it has foam sitting on top, swirl longer. If it’s too stiff to swirl smoothly, you likely over-aerated. If it’s thin and watery, you under-aerated or didn’t texture enough.
Now the big beginner secret: there’s a “pour window.” Microfoam is best right after steaming—when it’s glossy, integrated, and fluid. If you let it sit too long, it can separate. You can often bring it back with a strong swirl, but it’s never quite as perfect as that first moment.
So try to have your espresso ready before you steam. That way, you can pour immediately, when the milk is at its best.
And pour with confidence. If you hesitate, the foam can separate, and you’ll pour thin milk first, then foam later—leading to a weird layered latte. A smooth, continuous pour keeps the texture consistent.
This is why cafés look effortless: their workflow is built to protect that pour window. You can do the same at home with a simple habit—pull shot, steam milk, pour right away.
Beginner Mistakes That Make Microfoam Impossible (And How to Fix Them Without Stress)

If your milk steaming feels inconsistent, you’re not broken. You’re just doing one or two small things that have big effects.
One common mistake is starting with too much milk. When the pitcher is too full, the milk doesn’t have room to roll, and you end up with surface foam that never blends. Use less milk and practice with a manageable volume.
Another is skipping the purge. If there’s water sitting in the steam wand, the first burst is wet steam that thins your milk and messes up the texture. Purge for a second before steaming, and you’ll feel the difference.
Over-aeration is the big one. If you hear loud slurping and see the volume balloon fast, stop stretching sooner. Microfoam for lattes is subtle. It’s about silk, not mountains.
Under-texturing is sneaky, too. Some people add air, then don’t create a stable vortex. That leaves bubbles intact and foam separate. Fix that by lowering the wand slightly after stretching and focusing on a controlled roll.
Also, don’t chase latte art too early. Latte art is the reward of good microfoam, not the method. If you focus on texture first, latte art becomes way easier later.
And finally, don’t switch variables constantly. If you practice with whole milk today, oat tomorrow, a different pitcher the next day, and a different steam power setting after that, you’ll feel like nothing sticks. Keep your practice conditions steady for a week, then change one thing at a time.
Alternative Milk Microfoam: How to Steam Oat, Soy, Almond Without Splitting or Weird Texture
Once you can steam dairy milk, alternative milks become a fun challenge instead of a confusing nightmare.
Oat milk often steams beautifully, especially barista versions, but it can thicken quickly and overheat faster than you expect. So the biggest tip is: don’t push the temperature too high. Keep your stretching gentle and shorter, then touch carefully. Oat milk loves a smooth vortex, but it punishes overheating with a heavy, gluey feel.
Soy milk can create excellent microfoam, but it’s sensitive. Overheating is the main reason soy “splits.” You’ll see it look grainy or separate. Keep it in the comfortable heat zone and avoid steaming too aggressively at the surface.
Almond milk is usually the trickiest. It can foam inconsistently and may not give you the same glossy flow. If you’re practicing, don’t judge your technique too harshly on almond—some brands just don’t foam well. If you want almond to behave, barista blends are far more forgiving.
A practical beginner strategy is to practice on dairy until your hands know the two-phase process, then move to one alternative milk and stay there for a few days. Your goal is to learn that milk’s timing. Oats might need less stretching. Soy might need a lower temperature. Once you learn those patterns, you stop fighting the milk and start steering it.
And if your alternative milk keeps failing even when your technique feels right, try a different brand or a “barista” formulation. Sometimes the milk truly is the limiter, not you.
Cleaning and Maintenance: The Quiet Skill That Keeps Your Milk Consistent

This part isn’t glamorous, but it’s the difference between “my steaming is getting better” and “why is my steam wand suddenly acting weird?”
Milk residue builds fast. If you don’t wipe and purge right after steaming, milk can bake onto the wand and clog the tip holes. That changes steam pressure and steam pattern, which changes your milk texture. Then you blame your technique—but your equipment quietly shifted.
So make it automatic: steam off, wipe, purge. Every time. No exceptions.
Also, keep your pitcher clean and cool between uses. If your pitcher is warm from the last steam, your milk starts warmer, and your steam time shrinks. That makes everything harder, especially as a beginner. Rinse it with cold water and wipe it dry before refilling.
If your steam wand tip has removable holes, soak it occasionally according to your machine’s guidance and clean it properly. A slightly blocked tip can cause uneven steam jets, making the vortex unstable and producing bigger bubbles.
This maintenance habit does something else, too: it makes your practice fair. When your wand performs the same every time, you learn faster. Consistency is a teacher. Randomness is a distraction.
Building Skill Fast: A Simple Home Practice Routine That Actually Works
If you want to improve quickly, don’t “practice sometimes.” Practice with a plan, even if it’s small.
Pick one drink size and one milk type. Use the same pitcher. Steam one or two pitchers a day with intention. The goal isn’t to make ten bad attempts. The goal is to make a few focused attempts where you notice cause and effect.
A helpful routine is to split your attention by day:
One day, focus purely on stretching sound—make it gentle and consistent.
The next day, focus on vortex stability—make the roll smooth and controlled.
The next day, focus on finishing temperature—learn the end point by thermometer or touch.
Next day, focus on “pour window”—steam and pour immediately, swirl properly, see the difference.
You can even practice with water and a drop of dish soap to visualize vortex behavior, but real milk gives real feedback. The taste, texture, and pour behavior teach you more than visuals alone.
When you get a good pitcher, don’t rush past it. Pause and study it. How did it sound? Where was the wand tip? How long did you stretch? How fast did the pitcher heat up? That reflection is how you build repeatability.
And don’t worry if latte art doesn’t happen immediately. Latte art is just a sign your microfoam is flowing well. The real win is making milk that tastes creamy, integrates with espresso, and feels café-level on the tongue. Art comes next.
Bringing It All Together: Your First “Café-Feeling” Latte at Home

Here’s what I’d love for you to experience: the first time you pour your milk, and it flows smoothly, glossy and unified, and you take a sip and think, “Wait… that tastes like something I’d pay for.”
That moment isn’t luck. It’s the result of a few simple things done well: cold milk, a short clean stretch, a stable vortex, a controlled finish temperature, and a good swirl before pouring.
Milk steaming looks fancy, but it’s basically a repeatable physical skill—like learning to ride a bike. Wobbly at first, weirdly inconsistent, then suddenly your body understands it.
So if your microfoam isn’t perfect yet, don’t take it personally. It’s normal. Keep the process simple, keep the variables steady, and pay attention to sound, motion, and texture. In a surprisingly short time, your hands will start doing the “right thing” automatically.
And when you get there, you’ll realize something kind of funny: the real upgrade isn’t latte art. It’s the comfort of knowing you can make a silky, sweet, café-style milk texture whenever you want—on a random afternoon—because you learned the skill instead of chasing the accident.


